Unmasking an Experience: A recap of the Central City Mask-Making Workshop
Sa-Rai Robinette Leads the Workshop
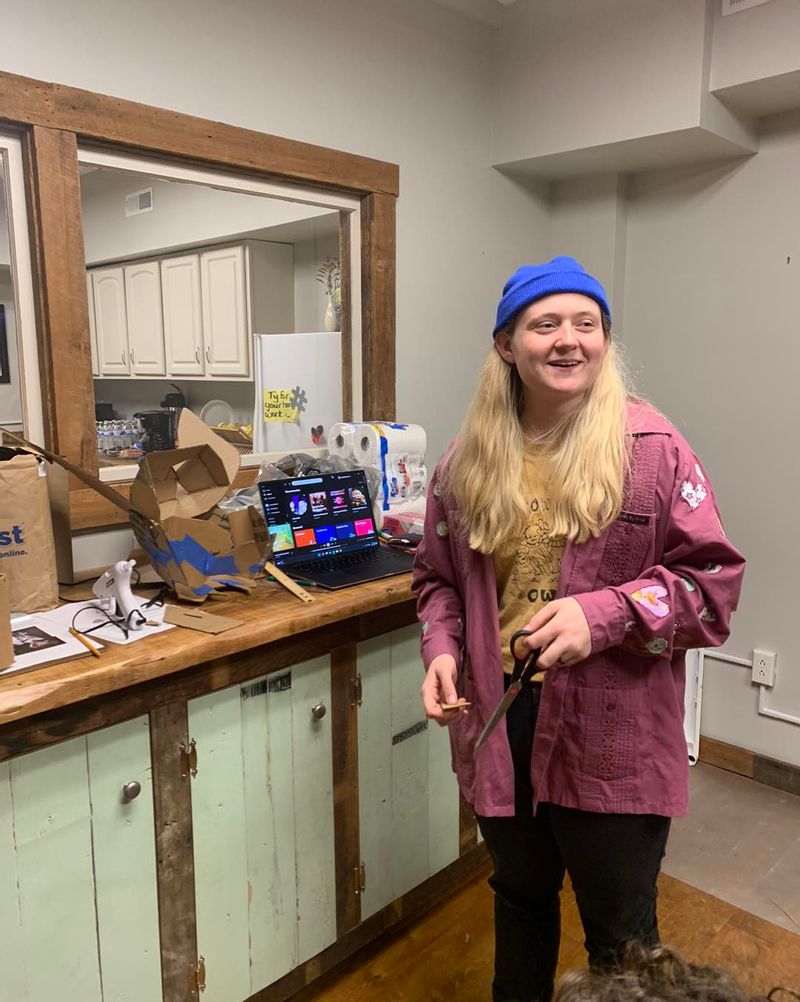
Step One: Draw and Cut

Step Two: Paste your pieces together
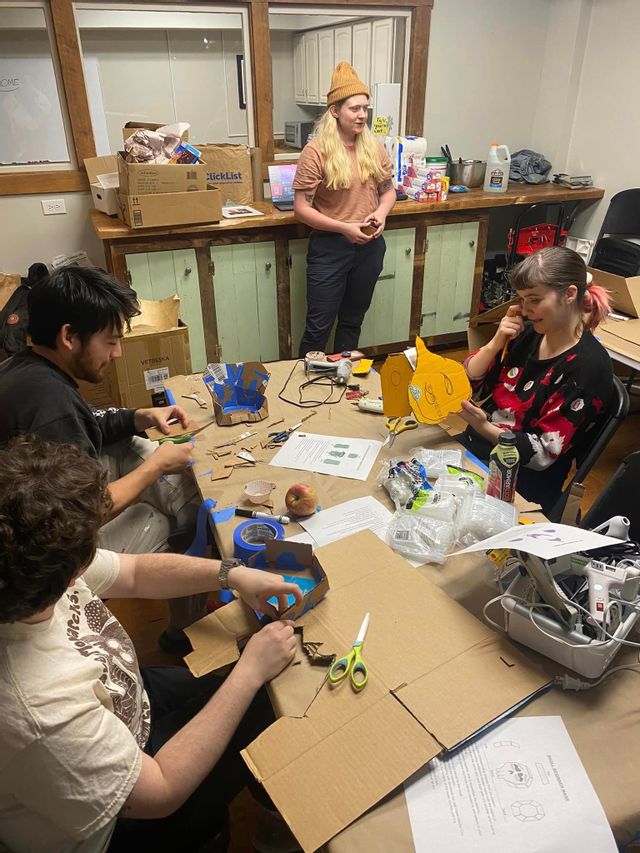
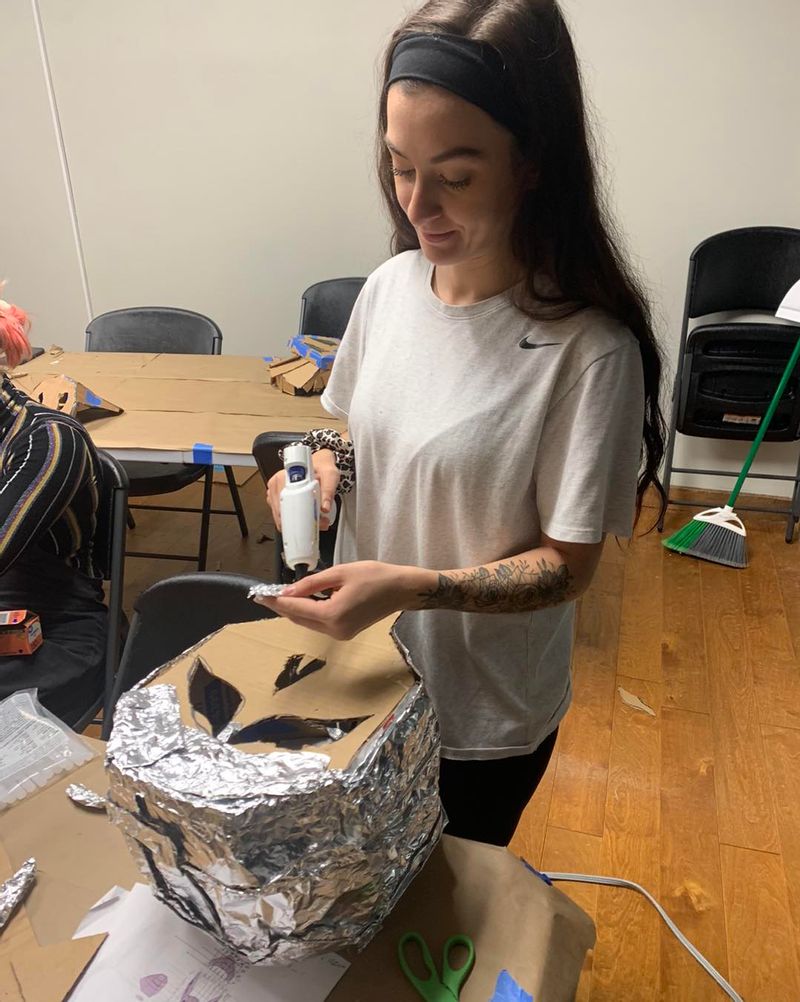
For the next step, participants pasted their pieces together using hot glue. It was easy to tape the pieces together first, using painter's tape or masking tape.
*Tip: Ensure there are no gaps and edges fit perfectly so paper mache mixture will not seep through the holes!
Step Three: Foil and paper mache!
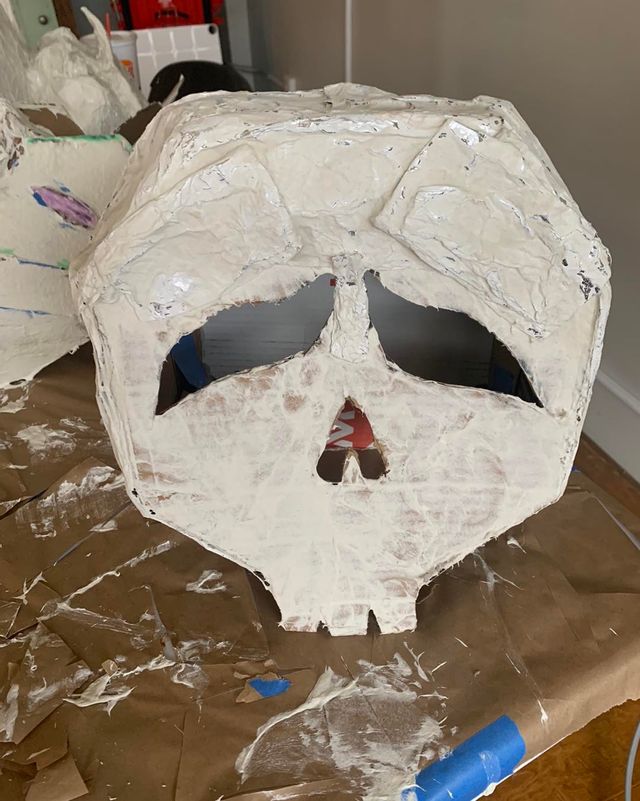
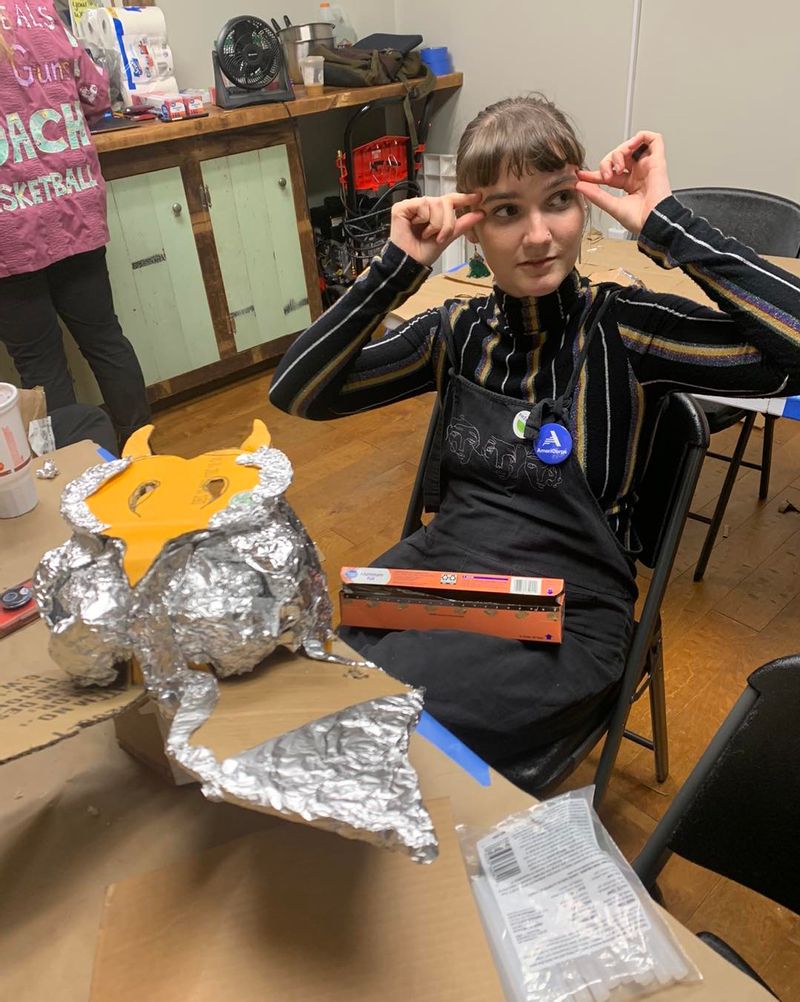
To add dimension, participants wrapped their masks in aluminum foil. Make sure if you are doing this from home that you are hot gluing the foil to the mask to ensure it's sealed and secured.
Then, participants learned how to mix the clay paper mache mixture! You can watch this process here. Sa-Rai did not want to take the credit for being the paper mache queen; however, she does credit Jonni Good, from Ultimate Paper Mache, for the recipe used! Participants then spread their paper mache mixture onto their masks in a thin layer. It takes two days to dry!
Things you will need:
- Flour
- Elmers clear glue
- Drywall Mud
- Toilet Paper and water (or newspaper if you are using a blender)
- Spatula
- Hand Mixter (blender for newspaper)
- Two mixing bowls
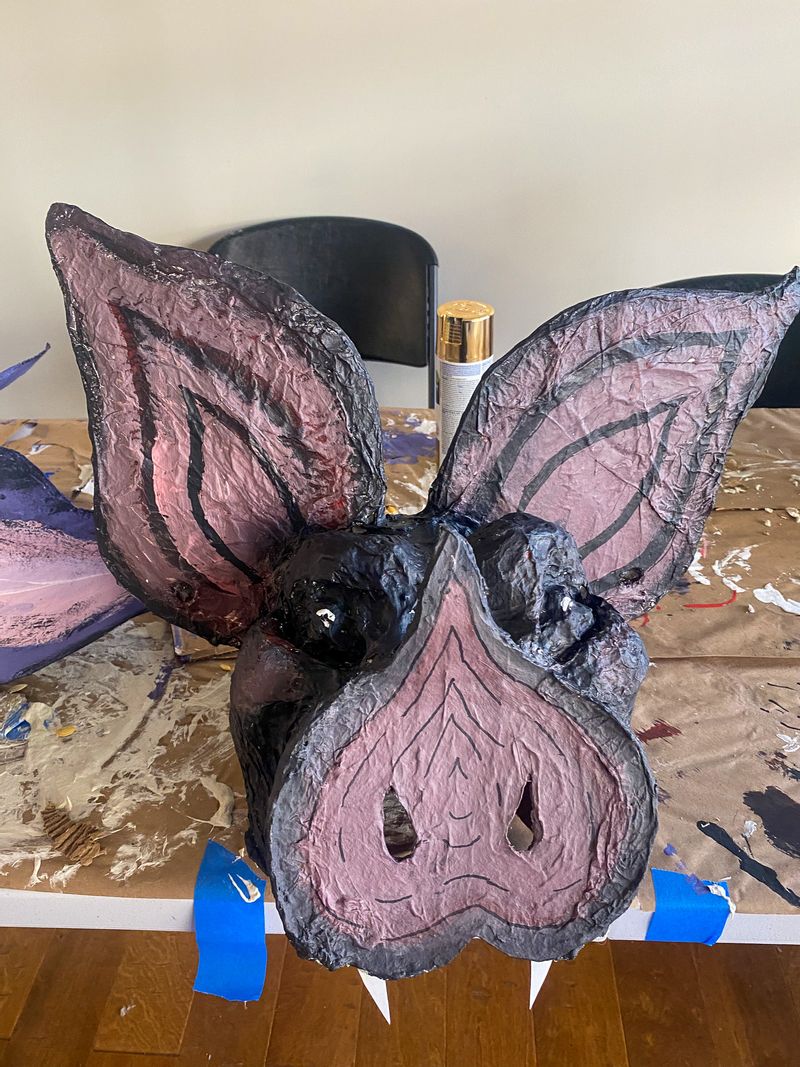
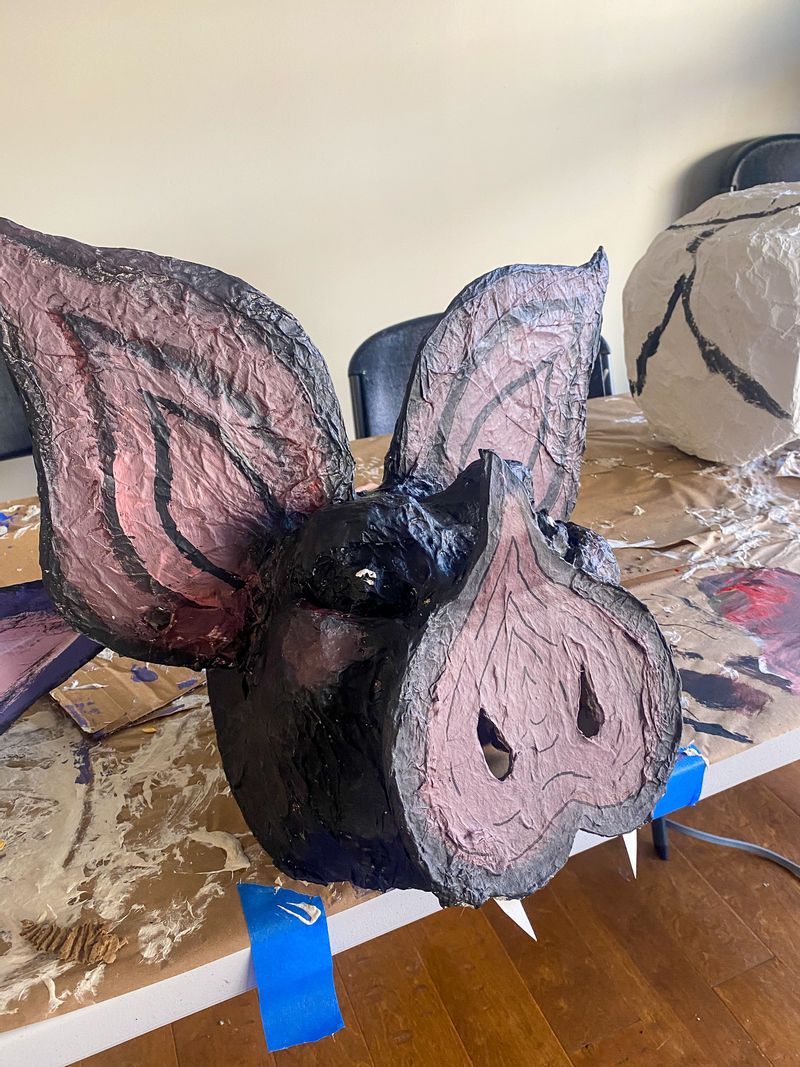
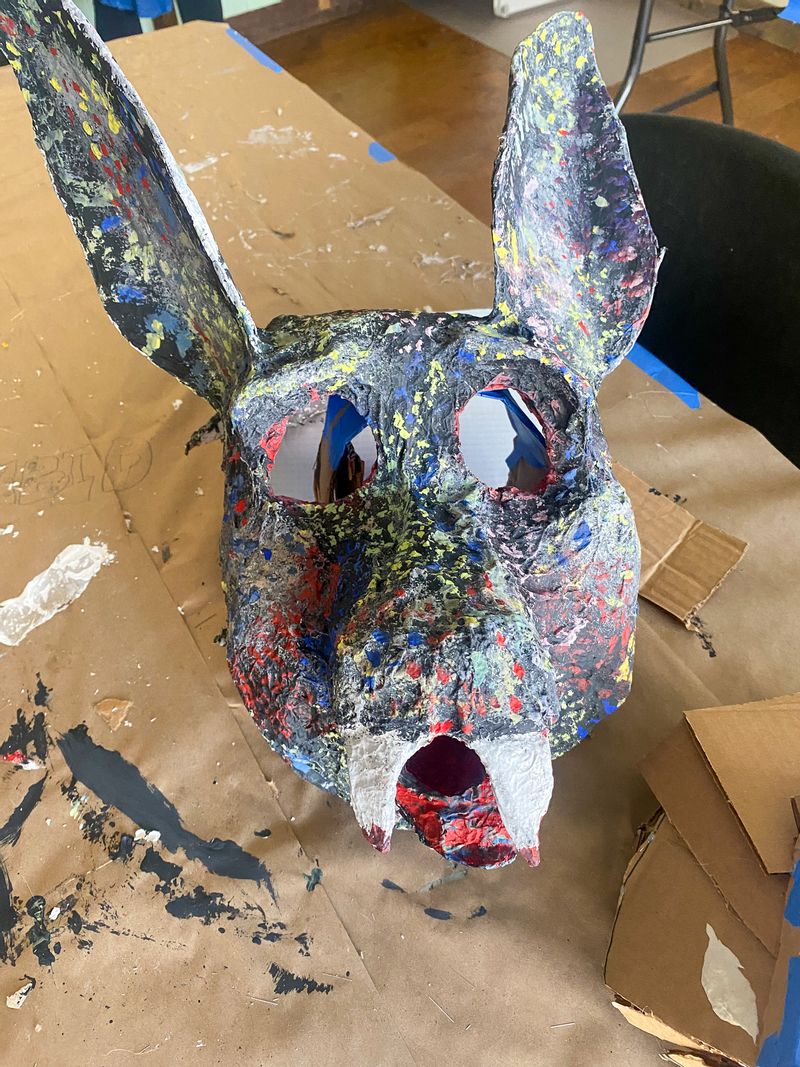
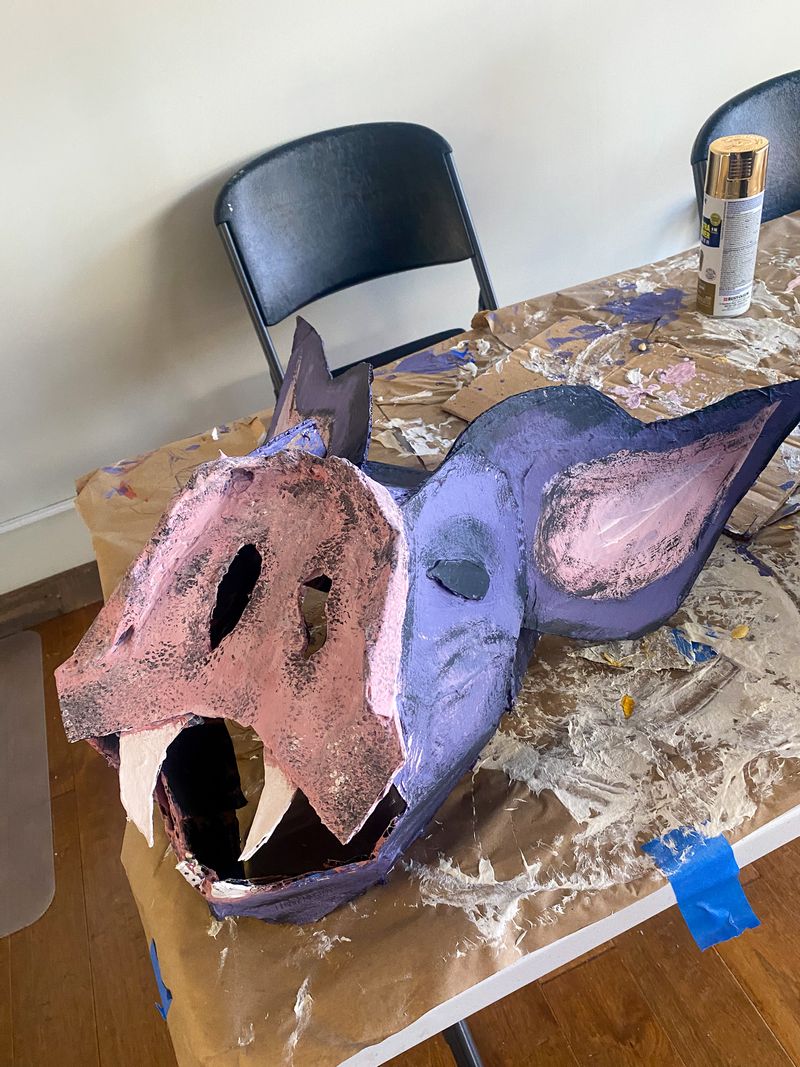
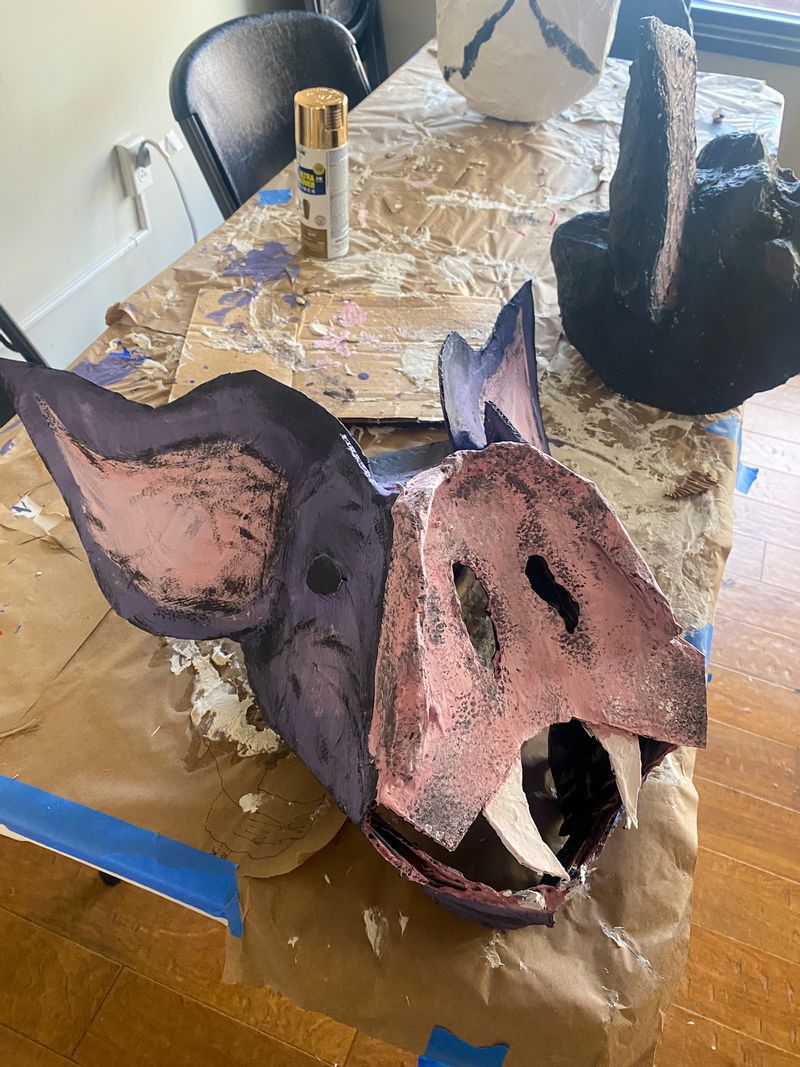
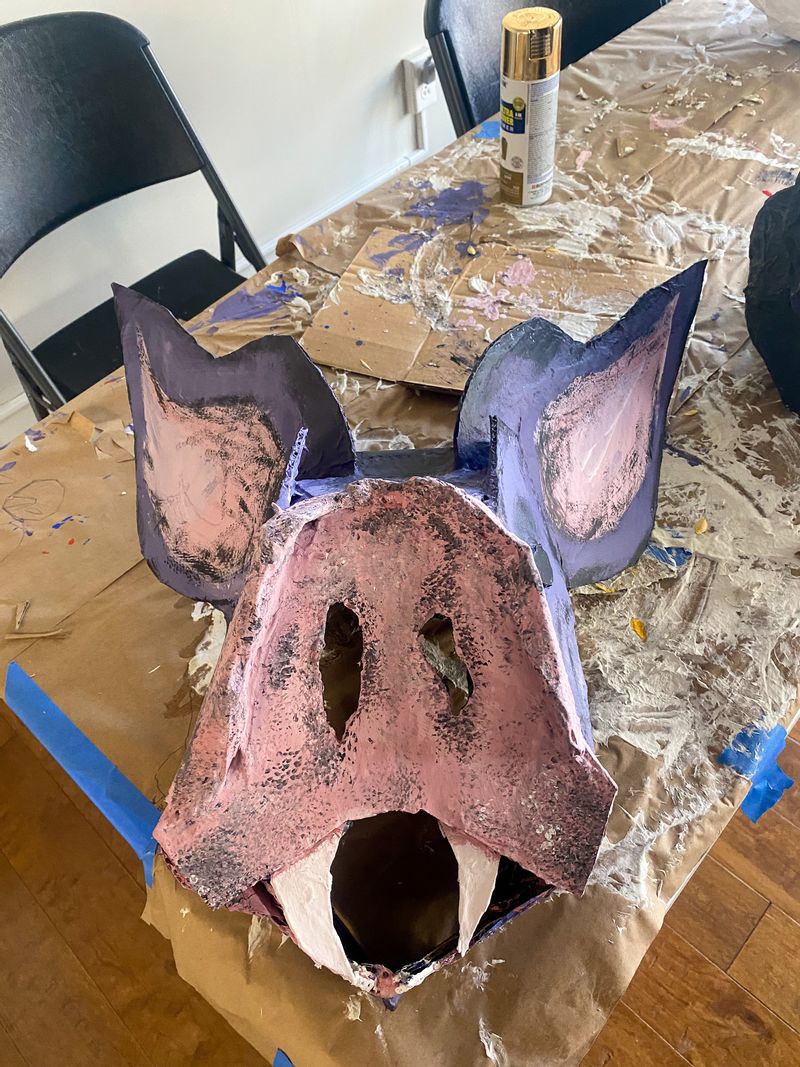
Final Step: Paint and Complete


Click an image below to display the larger version.
5.0 (1 Review)
Central City & 14 ST W
544 14th St W
Huntington, WV 25704
www.oldcentralcity.org


